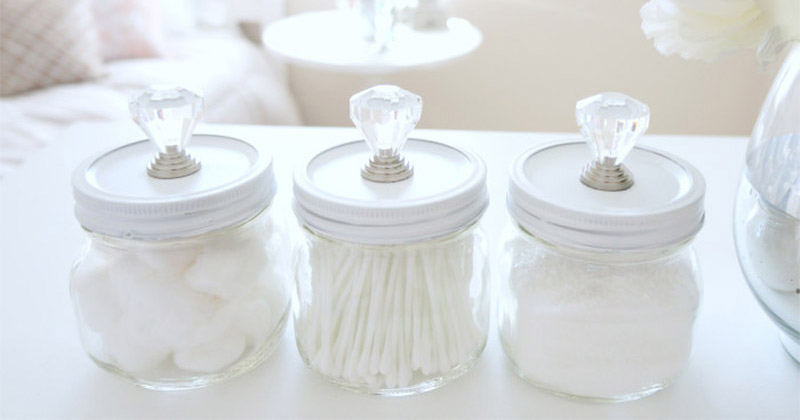
11 DIY Q-Tip Swab Holders For Your Bathroom
Q-Tips. They’re a basic necessity that I use for soo much.
However, those foul little plastic containers they come in. Not so good.
As I’m all for making things look a little more exciting in life, I went out in search of some cool containers to put my Q-Tips in. Because yes, that’s my kind of Saturday night. Here’s what I found.
1. Repurposing Candle Jars
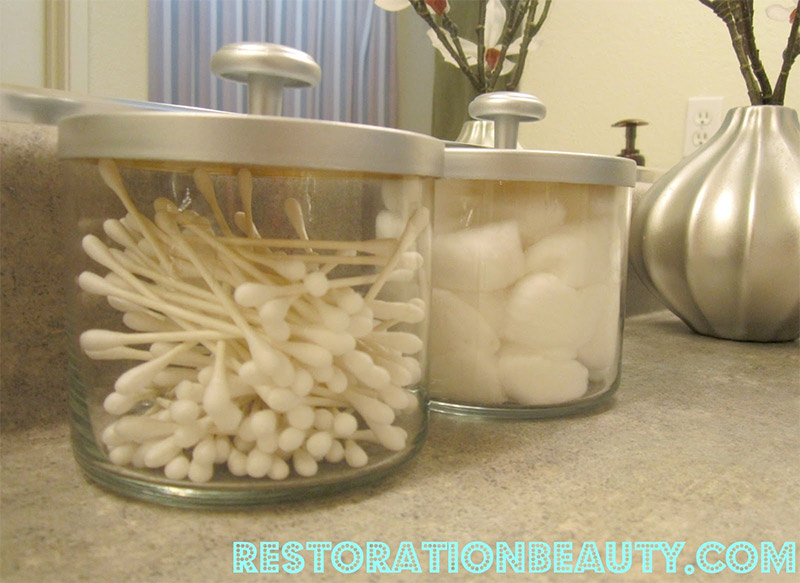
If you’re like me and you have a gazillion candles in your home then you’re bound to have some of these jars lying around.
To be honest the most difficult part of this DIY tutorial is getting the old wax out of the candle jar. It can be a little tedious but the payoff is worth it.
You just need a ton of soap and some very hot water. No more ugly plastic containers. Hurray!
Full Instructions and Image Credit – Selene @ Restoration Beauty
2. Used Containers
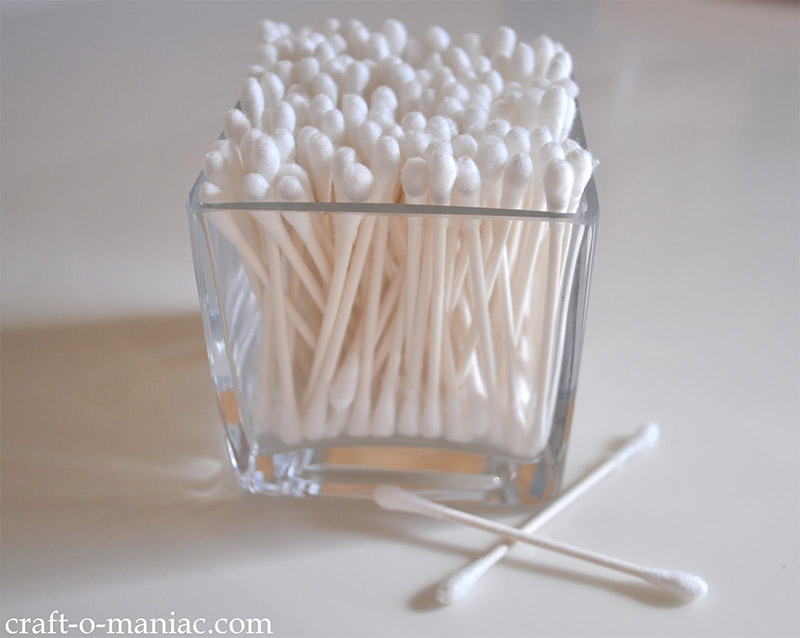
Ok so I cheated a little on this one as Jen actually purchased her containers.
But I am obsessed with the little bath tub she keeps her cotton balls in. Too cute.
The reason I included Jen’s containers though is because of her serious organization skills. She can take even the craziest mess and turn it into something beautiful and practical.
Also I’m convinced you must have similar jars lying around your place that you can use. So no trek to Home Depot or Target is really necessary for this one.
Full Instructions and Image Credit – Jen @ Craft-o-Maniac
3. Mason Jar Organizers
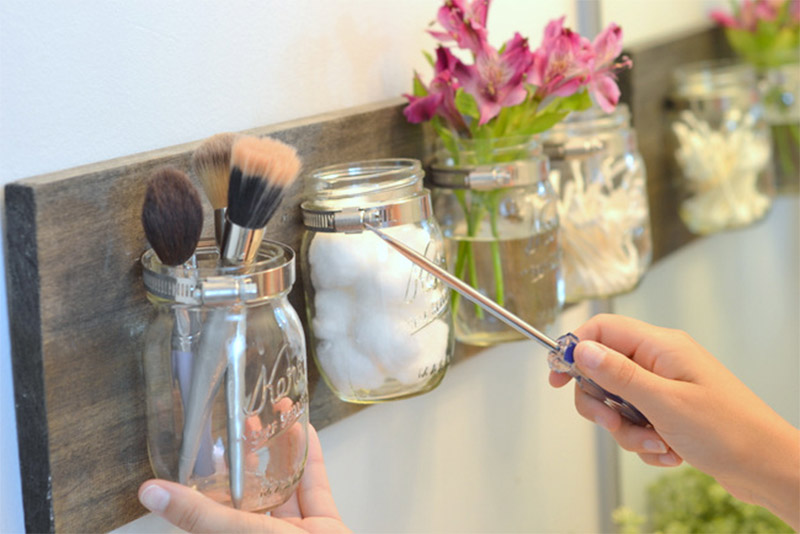
I’m gonna clear the air right now and put this out there. This post contains a heck of a lot of mason jars.
Why?
Because they’re so darn awesome that’s why! They are super versatile and I love how many ways you can customize them to suit your taste.
What’s even better is that you can pick up a pack of like 12 mason jars for around $7. Super cheap design work, case in point this DIY set.
The industrial/rustic theme of these mason jars is just tops. I adore these hose clamps that Casey used to add some interest & style to them. Super creative.
Full Instructions and Image Credit – Casey @ The DIY Playbook
4. Jazzed Up Jar
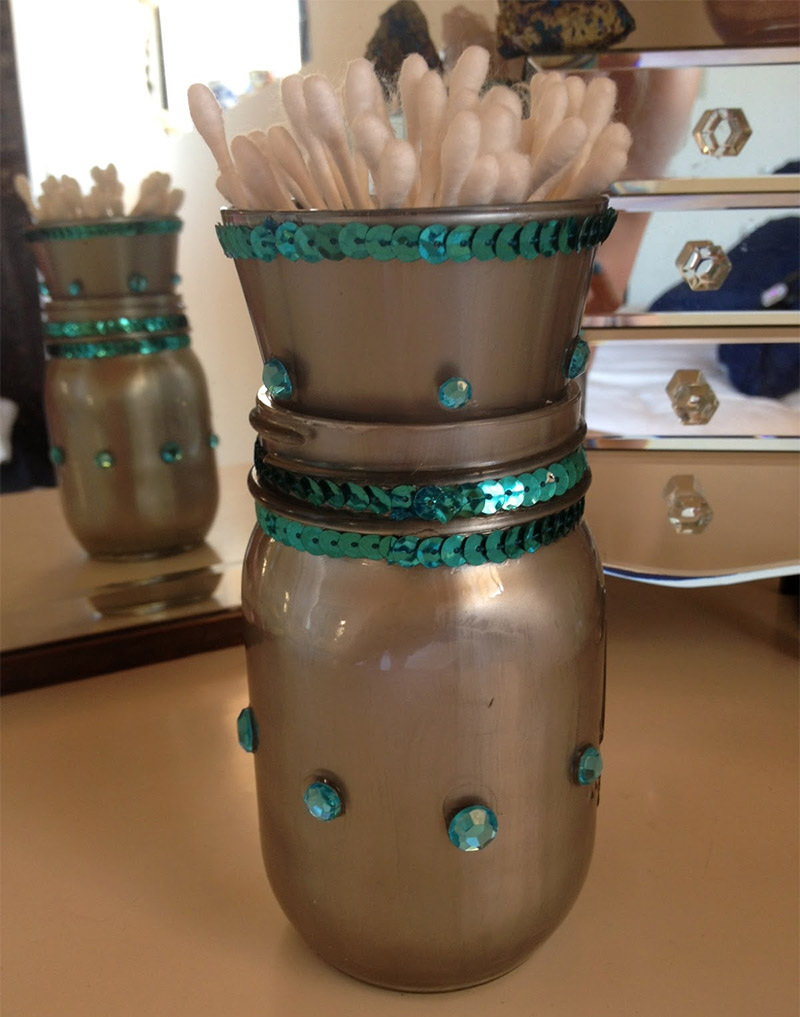
Don’t you think this Mason jar screams Mindy Lahiri? And if you don’t know who I’m referring to then who are you?!
In this guide Amy transforms a plain old mason jar into something spectacular. All you need is some metallic spray paint, sequins, and a few gems. I also love how her wine goblet sits perfectly in the top.
That’s some creative genius right there.
Full Instructions and Image Credit – Amy @ Aim to Create
5. DIY Mason With Knobs
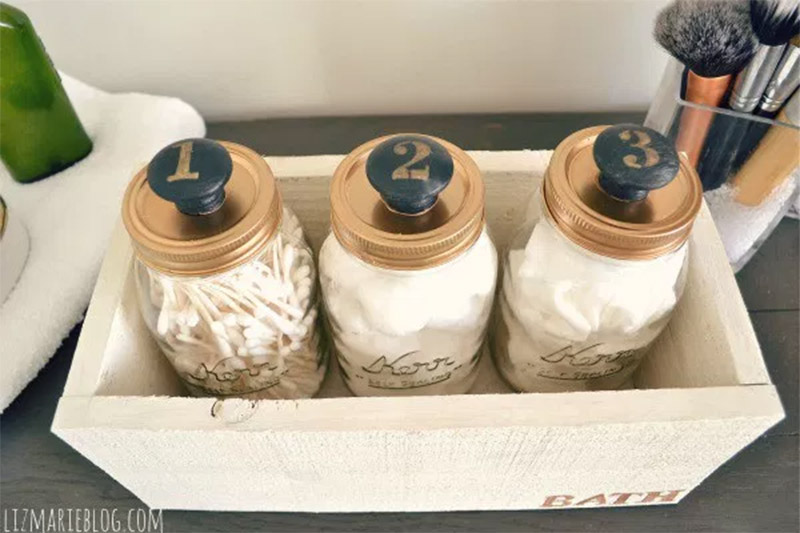
Liz Marie spray painted the lids of these gorgeous mason jars gold. However if you don’t want to get too messy you can buy the ones with the gold lids and save yourself a step.
The unique part on these jars are the door knobs. She just painted some cheap wooden door knobs black and added gold numbers on them using a stencil.
This instantly transformed her mason jars making them look wayyyy more expensive than they were. Awesome right?
Next, she got all hands-on and created a cute wooden box to put the jars in. Get your saws at the ready guys & gals!
Full Instructions and Image Credit – Liz Marie @ Liz Marie Blog
6. Cute Mason Bathroom Set
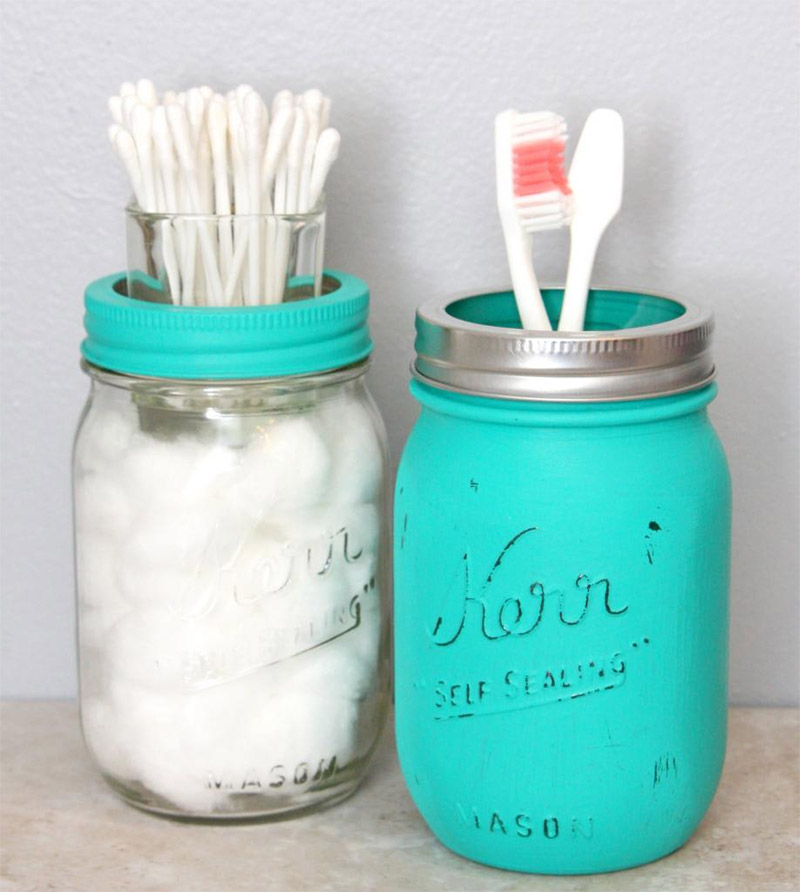
I love the vibrant colors of this Mason jar set and as it really adds a bit of pop to any bathroom.
Especially if you’re like me with a monochromatic b-room theme that needs brightening up a little!
Kara just uses regular acrylic paint to get this cool effect and then uses a shot glass for her Q-Tips. Awesome idea!
Side note – if you think these mason jars look cool wait until you see what Kara did with her Listerine bottle.
Full Instructions and Image Credit – Kara @ Happy Go Lucky Blog
7. Wall-Mounted Jars
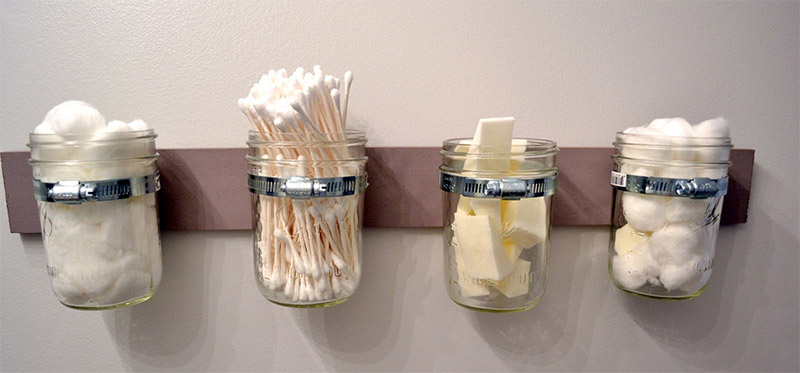
Here’s another killer bathroom design very similar to the design above with the hose clamps.
Liz Marie opted for super basic & wide mason jars for this particular design. She also decided to paint the board in a lovely purple/taupe color for hanging against the wall.
She recommends you get the hubby involved in this one if you’re not familiar with mounting properly. But I reckon us girls can figure it out no problem!
Full Instructions and Image Credit – Liz Marie @ Liz Marie Galvan Blog
8. Whole Mason Bathroom Set
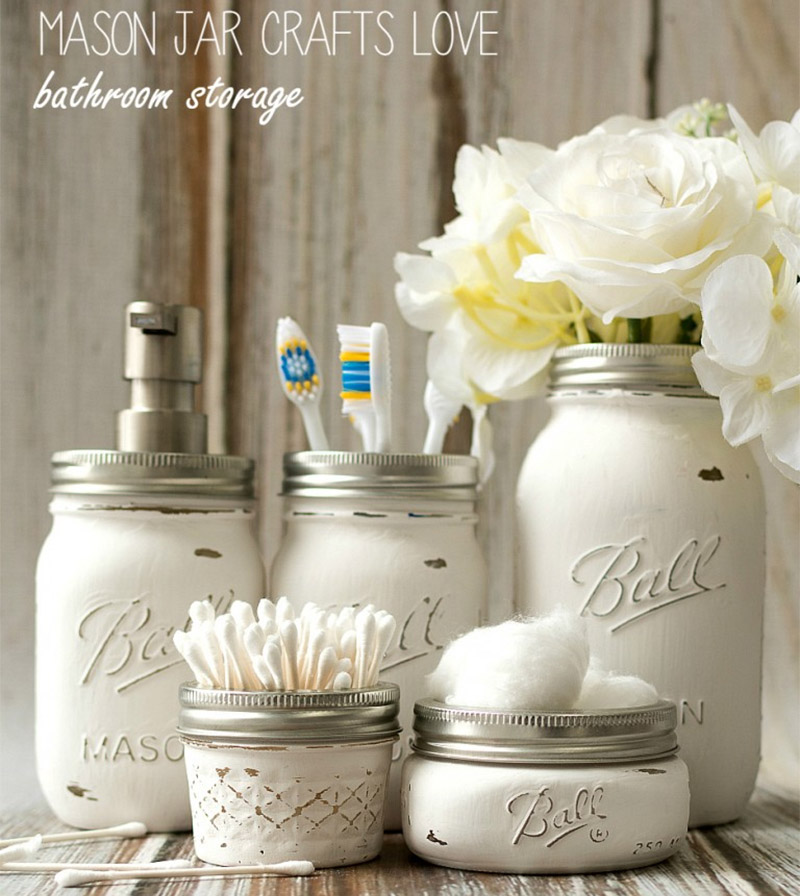
Linda took her creation to a whole new level by creating this awesome bathroom set with a variety of different jars.
Linda uses One Step Paint by Amy Howard to create a long lasting finish on her set. She then purposely sanded away the raised areas of the jar for an incredible rustic worn-out effect.
The Q-Tip Jar? That’s made from a recycled jelly jar. Now I know you must have one of those lying around.
Full Instructions and Image Credit – Linda @ Mason Jar Crafts Love
9. Beach Life
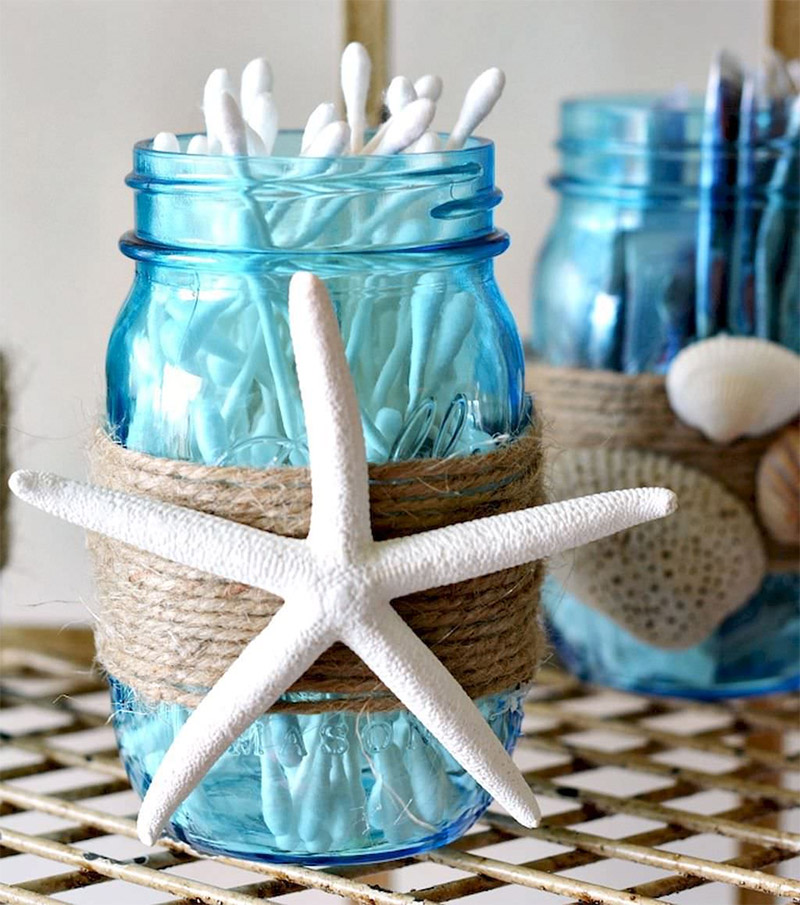
I came across so many amazing designs while writing this post but I have to say I think this one is my favorite.
I am a bit of a beach gal at heart. Although I love a good hike in the mountains I also love chilling on a white sandy beach and in baking.
This design really brings the ocean-y outdoors inside and I love it. Now if someone could just get me a beach house to put this in, that would be great!
Full Instructions and Image Credit – Cat @ Mom by the Beach(archive)
10. Mini Beauty Jars
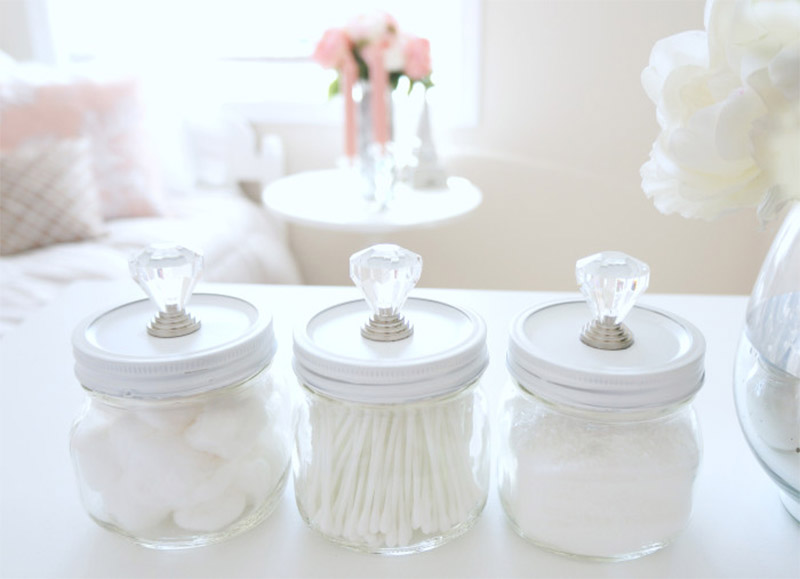
Elysia made these mason jars look real clean and real chic. I am a fan of anything girly. And white. And Sparkly…
The bold crystal doorknobs that she added are just too darn cute. And I want some right now.
All you need to get started with this project is a set of small mason jars, a bit of spray paint and a trip to Home Depot. That’s my Saturday sorted!
Full Instructions and Image Credit – Elysia @ Haute and Healthy Living
11. Candle Jar Transformation
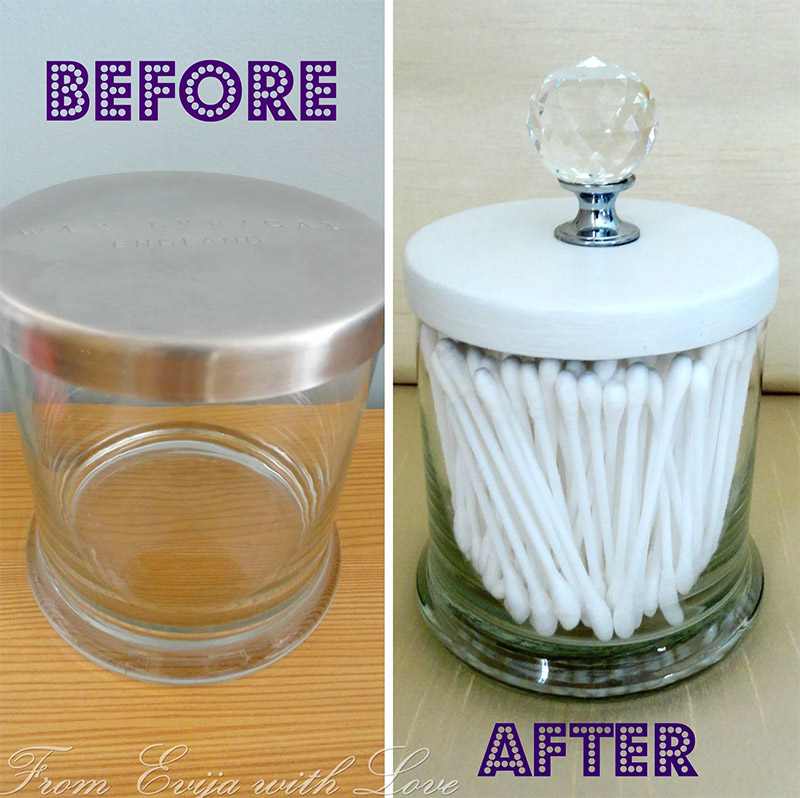
To finish off the post I have another cute candle jar transformation. With my oh-so favorite crystal door knobs.
Your Q-Tips will fit perfectly snug into this cute little jar that will only take around 30 minutes to make. Plus drying time for the paint of course.
But if you just need one holder for your swabs this should do the trick.
Full Instructions and Image Credit – Evija @ From Evija with Love


